
This Instant Pot Bone Broth recipe shows you how to make a nourishing batch of homemade chicken or beef bone broth the fastest and most efficient way, without sacrificing any of its benefits. Great for meal prep, sipping, and cooking!

Why you’ll love this recipe!

Quick and low-effort – Making bone broth in the Instant Pot takes a fraction of the time as it does on the stove or in a slow cooker.
Health benefits – Bone broth is known for its health benefits since it’s packed with minerals, gelatin, and collagen. It’s great for strengthening your hair, nails, and joints and protecting the gut lining. BTW, you don’t miss out on any of these benefits when you make it in a pressure cooker!
Versatile – That batch of homemade bone broth in your fridge is perfect for sipping by the mugful, simmering in soups, folding into sauces and gravy, and so much more!
A few years ago, I was suffering big time from migraines, nausea, and joint pain. It was a nightmare and eventually led me to consulting with a functional medicine doctor. You know what they recommended? Regularly drinking bone broth!
That’s when my Instant Pot bone broth recipe was born. I could have settled for store-bought, but making it yourself is much more cost-effective and customizable. Plus, after rounds and rounds of recipe testing, I discovered how easy it was to make in a pressure cooker compared to the stove or slow cooker.
A daily mug full of this nutrient-dense broth was exactly what I needed to feel like myself again. It quickly became my go-to feel-good solution for sick days, a nutritious base for soups and stews, a cooking liquid for my favorite grains, and so much more. I always keep a batch in my fridge or freezer now!
Bone Broth Ingredients
Bones – The great thing about bone broth is that you can make it with any leftover animal bones. Chicken, turkey, beef, pork—you name it! I use grass-fed or pasture-raised bones whenever possible, as they tend to produce a thicker, more collagen-rich broth. Leftover bones from a whole roasted chicken, holiday turkey, bone-in ham, pig’s feet, or beef short ribs also work well. Just make sure that there’s little to no meat left attached to keep your broth clear and not overly greasy.
Vegetables – For flavor, I simmered the bones with carrots, celery, onion, and garlic. Remember that veggie scraps work just as well as fresh vegetables. I keep carrot ends, celery leaves, onion skins, etc., in a heavy-duty freezer bag, then add what I need to the broth.
Vinegar – A splash of vinegar extracts minerals (such as calcium, magnesium, and potassium) from the bones, which ultimately makes the broth more nutritious. Apple cider vinegar is my usual go-to, but any vinegar works (you won’t taste it).
This list is to provide further clarification on a few of the ingredients. See recipe card below for the full ingredient list.
Variations
- Add aromatics – Toss in a small piece of ginger, lemongrass, or a halved lemon to brighten all the flavors.
- Change the herbs – You can swap the bay leaf for a few parsley stems, a sprig of thyme, rosemary, or sage leaves. Just use one herb at a time so you don’t overpower the stock.
- Use spices – For a gentle warmth, add a pinch of cumin, coriander, turmeric, smoked paprika, red pepper flakes, star anise, or whole black peppercorns.
- Adjust with salt – Add a pinch of salt at the very end to enhance the natural umami.
How to Make Bone Broth in an Instant Pot
Step 1: Roast the bones. Arrange the bones on a baking sheet and roast them at 350°F for 15 minutes. Flip, then roast for another 15 minutes.

Step 2: Load the Instant Pot. Transfer the roasted bones to your Instant Pot along with the rest of the ingredients. Fill the pot with water until it reaches the 2/3 max fill line.
Step 3: Pressure cook. Seal the lid and pressure cook on high pressure for 90 minutes. Once the cook time is up, allow the pressure to release naturally for 10 minutes, then carefully quick-release any remaining pressure.
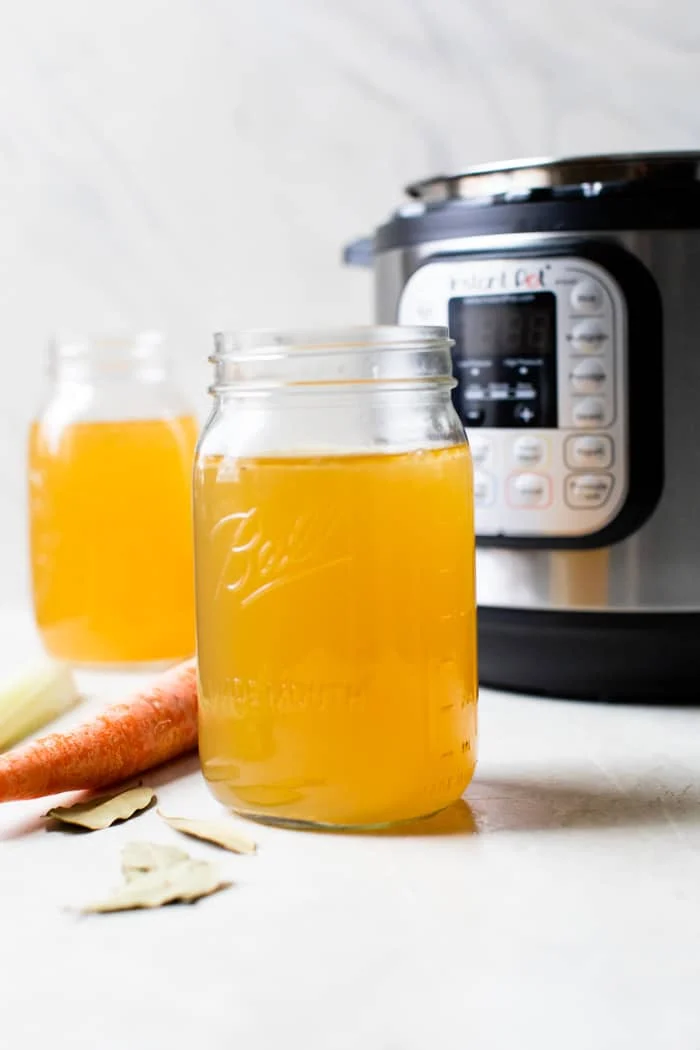
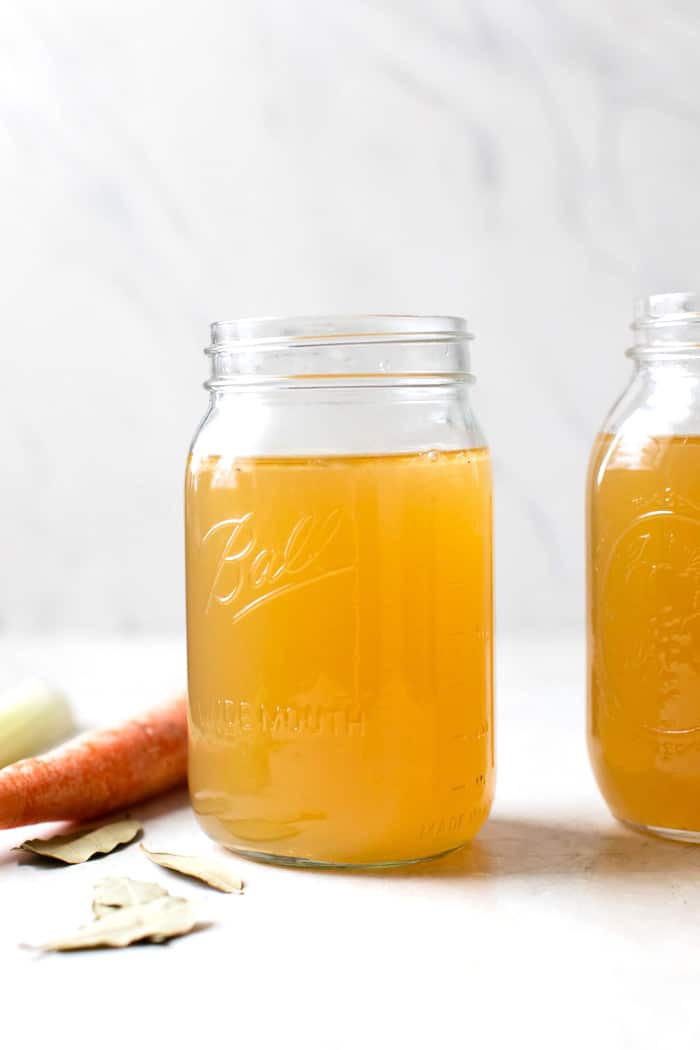
Step 4: Strain, cool, and store. Let the broth cool for a few minutes, then strain it through a fine-mesh strainer into a large bowl. Add ice cubes to the stock, wait for them to melt, and pour the stock into jars. Store the broth for later.

Erin’s Tips and Tricks
- Always roast your bones! This step caramelizes the bones, which means deeper flavor, richer color, and a more satisfying broth. The only time I recommend skipping this step is if you’re intentionally going for a very light broth.
- Naturally release the pressure before switching to a quick release. Because broth is all liquid, releasing the pressure too quickly can cause hot liquid to spray up through the steam valve, creating a messy, unsafe situation we don’t want!
- Always strain the broth through a fine-mesh strainer (or cheesecloth). This removes small bone and vegetable fragments and keeps the broth smooth for sipping or cooking.
My Pro Tip
Gel is a good thing
If your broth turns jelly-like in the fridge, that’s a win. It means you’ve successfully extracted collagen from the bones. Don’t worry—it will liquefy again when reheated.
Instant Pot Bone Broth FAQs
Both veggie/chicken/beef stock and bone broth are made by simmering water, vegetables, and/or bones together. However, bone broth is simmered even longer to pack it with as many minerals, collagen, and flavor as possible. The beauty of using an Instant Pot is that it eliminates the all-day babysitting that comes with making it on the stovetop or in a slow cooker.
Let your leftover cooked bones cool completely, transfer them to a freezer-safe bag, and freeze for up to 3 months. Take a full bag of bones as your sign to make another batch of bone broth in your Instant Pot.
Yes, but only if your bones still feel sturdy and haven’t completely broken down. The second batch will just be lighter in flavor and lower in nutrients, but it’s still perfect for sipping or cooking.
No. Even though the simmering time is shorter in the Instant Pot version, the sealed pressure-cooking environment traps all of those nutrients and flavors in the broth. This keeps your bone broth rich in minerals, gelatin, and collagen.
Ways to Use Bone Broth
My favorite way to enjoy bone broth is straight from a mug. I’ll warm it up in the microwave and sip on it first thing in the morning (usually before my first coffee of the day). It’s the best way to get through a chilly morning or flu season!
There are endless other ways to enjoy it, though. Check out these tasty ideas:
- Soups and stews – I’ll use the extra bone broth in my fridge for pretty much any hearty soup or stew. It gives my classic chicken noodle soup more protein and my beef barley soup extra amazing flavors.
- Cooking liquid for grains – Ditch the water and use bone broth to cook rice or quinoa. It instantly adds flavor and boosts the nutritional value!
- Sauces and gravy – The broth adds richness to any homemade gravy or pan sauce you love.
- Side dishes – Use the broth to steam or sauté vegetables like broccoli or asparagus, or replace some of the milk in mashed potatoes for a more flavorful option.
Storage
Refrigerator: After it’s strained and cooled, I like to portion the bone broth into sealed glass jars and keep it in the fridge. It stays fresh for 4 to 5 days.
Freezer: I like to cool the broth overnight in the fridge before transferring it to the freezer. The cooled stock freezes well for 2 to 3 months. I usually freeze 2 to 3 cups of stock at a time in freezer-safe containers or silicone molds for easy thawing.
More Instant Pot Recipes
If you made this recipe, be sure to leave a comment and star rating below. Thanks!
-
Preheat oven to 350°F.
-
Place the bones onto a baking sheet, making sure there’s little to no meat left on the bones. Roast the bones for 15 minutes, then flip them over and roast for an additional 15 minutes. This will give them more flavor, which ultimately equals a more flavorful broth.
-
Add the bones, along with the rest of the ingredients, to your Instant Pot, then fill water up to the 2/3 line in your IP. Pressure cook for 90 minutes, then natural release for 10 minutes before pressure releasing.
-
Wait at least 15 minutes before pouring the broth through a strainer and into a large bowl. Then, add an entire ice cube tray to it and wait for the ice to melt. Basically, you don’t want to transfer boiling hot broth directly into the fridge; instead, you want it to cool a bit.
-
Once it’s warm instead of hot, pour the broth into jars and place the jars in the refrigerator, then the next day transfer 1-2 of them into the freezer. Bone broth stays fresh in the refrigerator for 4-5 days, so if you plan on drinking it all, keep it in the fridge, but otherwise, transfer it to the freezer and enjoy it later.
**You can use ANY kind of bones. I found that some grocery stores (Giant Eagle, Whole Foods) sell bones on their own in the refrigerator/freezer section, which makes it super simple. Alternatively, you can ask the people behind the meat counter if they have any bones they can sell you. For this recipe, you can use chicken bones, beef bones, pig bones–anything works!
*Calories are per serving and are an estimation
Calories: 86kcal | Carbohydrates: 1g | Protein: 6g | Fat: 80g | Saturated Fat: 1g | Sodium: 4mg | Potassium: 26mg | Fiber: 1g | Sugar: 1g | Vitamin A: 1076IU | Vitamin C: 1mg | Calcium: 4mg | Iron: 4mg