A reader challenged me to come up with a protein brookie recipe, and I must admit, I thought I was fighting a losing battle.
After 3 failed attempts, I wasn’t sure these would ever turn out. But I finally have a result I am very happy with!

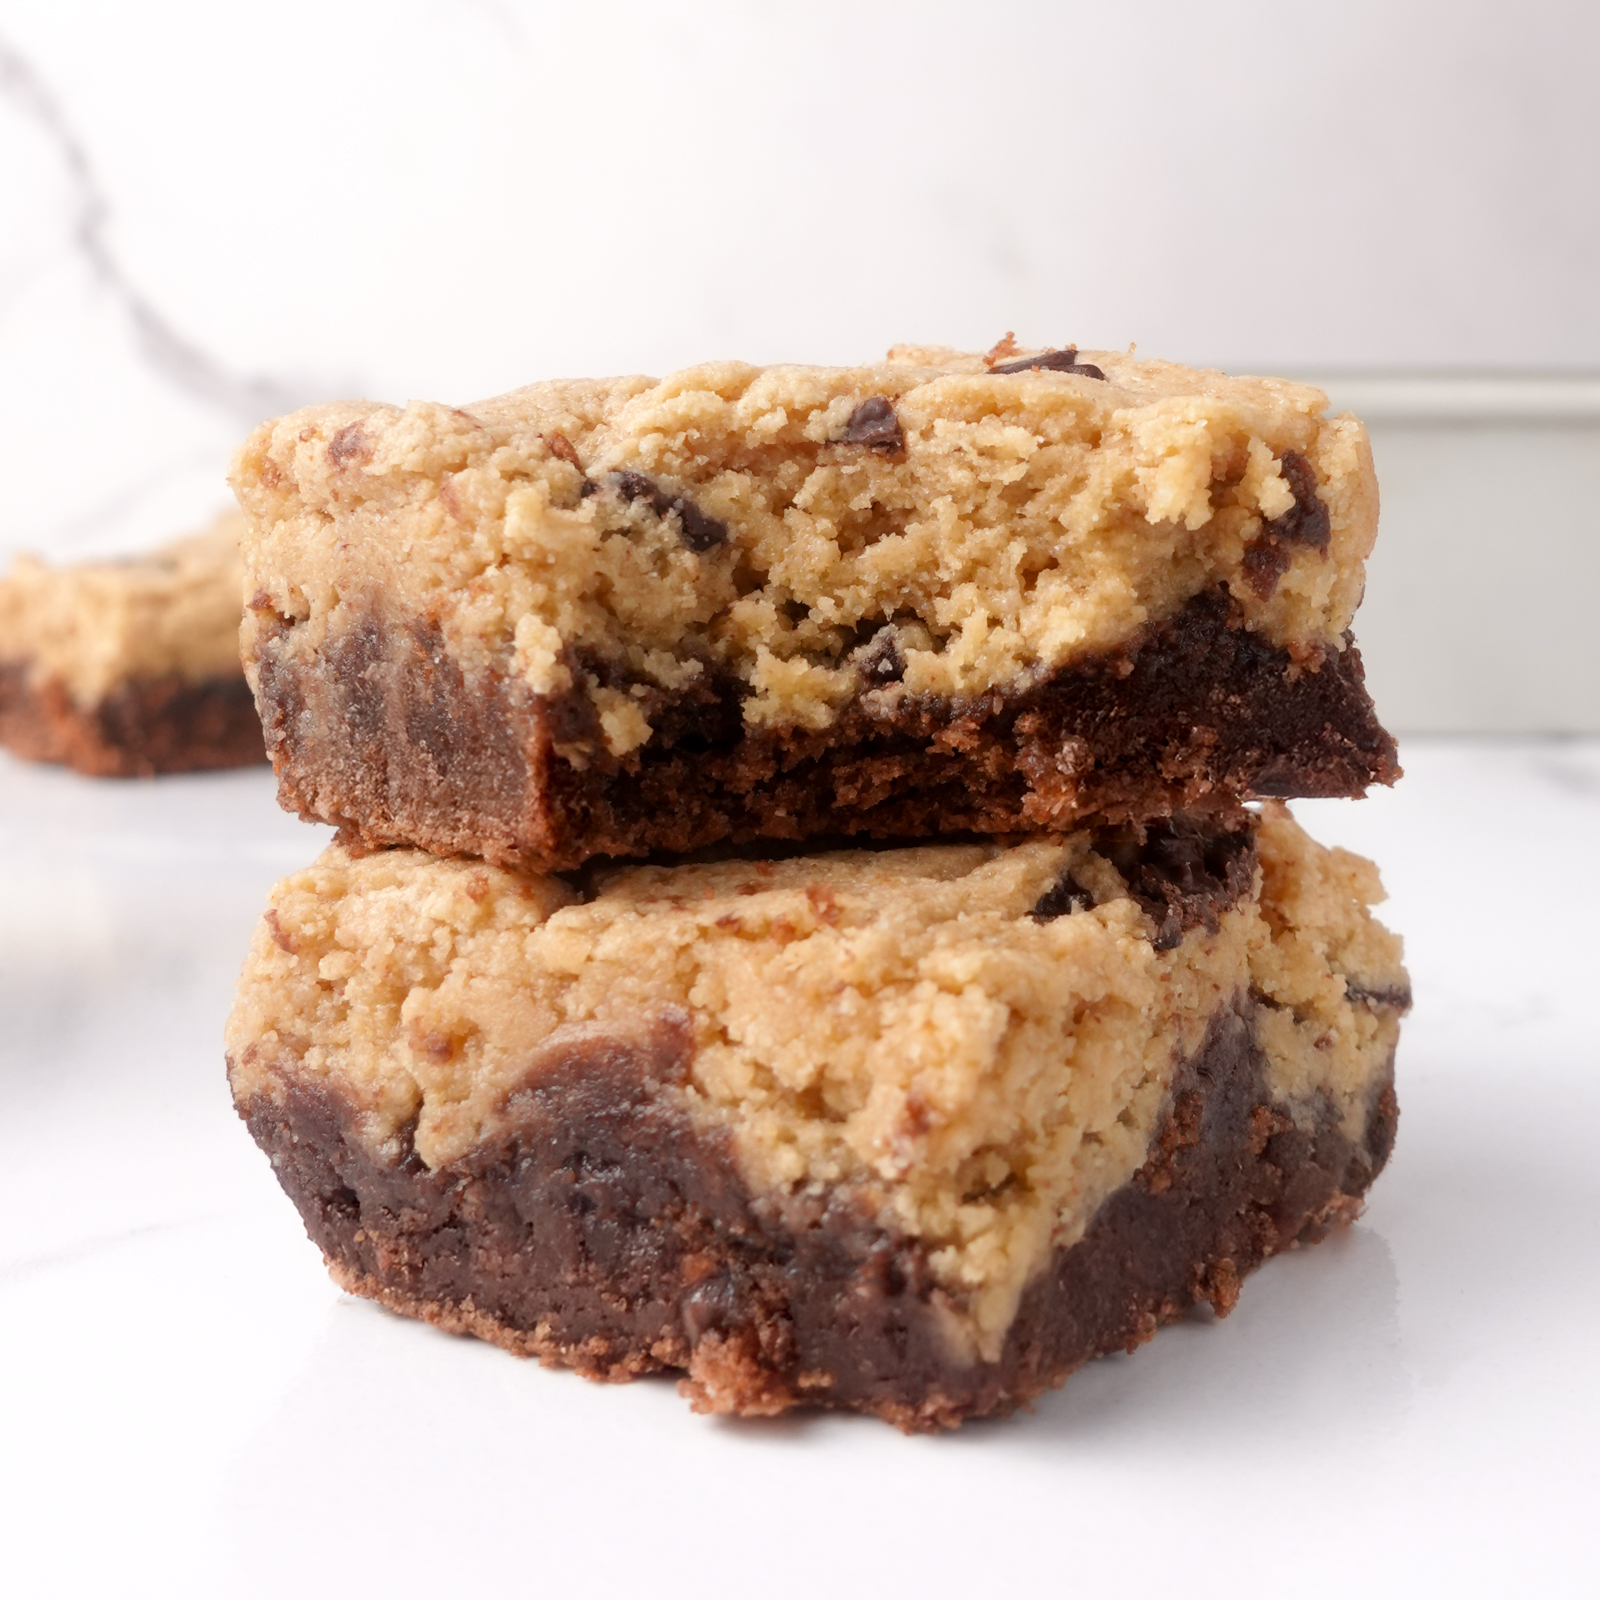
These protein brookies are exactly what they sound like: a fudgy brownie layer on the bottom with a chocolate chip cookie layer on top.
And like all my recipes, these come with a unique high-protein spin. Each brookie square contains just 150 calories and packs 10 grams of protein.
The texture is what makes these protein brookies special. The brownie base delivers that rich, fudgy mouthfeel that’s often missing from protein desserts, while the cookie layer provides the perfect chewiness on top.

Now, I’m not going to lie to you and say that you would never know that these had protein in them, because you can tell. If you were to eat these side-by-side with authentic bakery-style brookies, you’d choose the real thing every single time.
I know that is far from a glowing endorsement, but I want to set the expectations properly. These won’t replace the real thing, but for a treat with 150 calories and 10 grams of protein, it’s a delicious way to sneak some extra protein into your day.
And while they may not dethrone real-deal brookies, if you enjoy brownies or cookies, these won’t disappoint.
Ingredients Needed For Protein Brookies
This recipe might look complicated at first glance since we’re making two separate layers, but it’s actually pretty straightforward. Both layers use very similar ingredients, so you won’t need to grab a ton of different things.
In fact, this recipe is based on a combination of two other recipes of mine. If you want to simplify things a bit and make a single layer, check out my Protein Cookie Skillet and my Protein Brownie Skillet.

For both layers, I’m using a whey/casein blend protein powder. I always recommend this type of protein powder for baking (I use PEScience) because it creates a much better texture than pure whey, especially for cookies.
If you try to use 100% whey protein in this recipe, be prepared for a much drier result. The casein component is key for keeping everything moist and chewy.
The brownie layer uses chocolate protein powder plus cocoa powder for that deep chocolate flavor. For the cookie layer, I love using peanut butter flavored protein because I use peanut butter as one of the fat sources, but vanilla or any other flavor works fine too.

Both layers use a mix of oat flour and almond flour. I’ve found this combination creates the perfect texture – the oat flour gives that classic cookie feel while the almond flour adds moisture and extra protein.
If you have allergies, the almond flour can be substituted for more oat flour instead. Almond flour isn’t critical for the recipe, but it helps add some extra moisture and chew thanks to the fat content.
I use zero-calorie brown sugar substitute to keep calories lower, but regular brown sugar works perfectly if you don’t want to mess with any substitutes. If you use regular brown sugar, each brookie will have about 175 calories instead of 150, which is not a significant difference.
In terms of fat sources, I am using a combination of peanut butter & full-fat butter for this one. Peanut butter helps provide fat with some added protein, while butter provides the proper chewy texture.
If you can’t have peanut butter, you have a few options:
- You can use a different type of nut butter for similar macros.
- Use more butter in its place, but that will take away some of the protein.
In either case, using actual butter (or coconut oil) is crucial here. I tried making these with Country Crock, which is a reduced-calorie butter spread, and the results were simply too dry. The full-fat butter is necessary for proper texture.
The applesauce is my secret weapon for both layers. It takes the place of some of the butter, helping to retain moisture with very few calories. You can’t use all applesauce or else these would become very cakey, but a small amount of applesauce helps to keep the calories down.
Important Baking Tips
After multiple failed batches, I discovered a few key things about baking these brookies:
First, a lower baking temperature (300°F) works best. This allows the brookies to bake through without drying out at the edges. I previously tried both 350 degrees and 325 degrees, but in both cases, it led to the interior being underdone and the edges overcooked.

If you want ultra-gooey, then you can certainly try it! For reference, the above photo is the result of 325 degrees for 14 minutes, so you can certainly go that route.
Second, covering the pan loosely with foil after 10 minutes makes a huge difference. This simple step helps prevent the edges from getting too dry while the center finishes baking.
Baking time is crucial. I tried 22 minutes, and while the center was good, the edges were too dry. I’ve found 18-20 minutes to be the sweet spot, but your oven might be slightly different.
You can’t do the typical “toothpick test” with these because it starts as cookie dough, so the center is going to feel undercooked in any case (it sets as it cools). You’ll know these are ready to pull from the oven when the edges are slightly browned and pulling away from the pan.

Since all the ingredients are safe to eat raw, you can err on the side of underbaking. This will give you a fudgier, more moist result than overbaking.
The One-Hour Cool Down
This is non-negotiable: after baking, let these brookies cool for a full hour before cutting. When they first come out of the oven, they’ll feel very soft and underdone.
This is normal. As they cool, the butter solidifies and transforms the texture completely. The brownie layer becomes perfectly fudgy, and the cookie layer sets to that ideal chewy consistency.

If you try to cut them too soon, they’ll just fall apart. I know waiting is tough, but this step is absolutely worth it for the perfect texture.
Once cooled and cut into 16 squares, store leftovers in the refrigerator. The cold temperature actually enhances the fudgy texture of the brownie layer, in my experience.
These brookies also freeze extremely well. What’s cool is that they remain soft enough to bite into straight from the freezer, making them perfect for when you need a quick protein-packed treat and don’t want to wait for them to defrost.

If you want to warm one up, 10-15 seconds in the microwave will do the trick. Pair it with a small scoop of some protein ice cream and you’ve got a damn good protein-packed dessert.
More Protein Cookie Recipes To Explore
Baking protein cookies is one of my favorite pastimes, so you’ve got a lot of options to choose from if you want more protein cookies in your life.
Here are some of my favorites:
Ingredients
Brownie Layer
- 75g (About 2¼ Scoops) Chocolate Whey/Casein Blend Protein Powder (I use PEScience)
- 45g (⅓ Cup + 1 Tbsp) Oat Flour
- 14g (2 Tbsp) Almond Flour
- 10g (2 Tbsp) Cocoa Powder
- 55g (¼ Cup + 2 tsp) Brown Sugar Substitute (or regular brown sugar)
- ¼ tsp Baking Soda
- 48g (3 Tbsp) Creamy Peanut Butter (can also use cashew butter for a more mild flavor)
- 42g (3 Tbsp) Full-Fat Butter (Melted)
- 75g (About ⅓ Cup) Unsweetened Applesauce
Cookie Layer
Instructions
- Preheat your oven to 300°F.
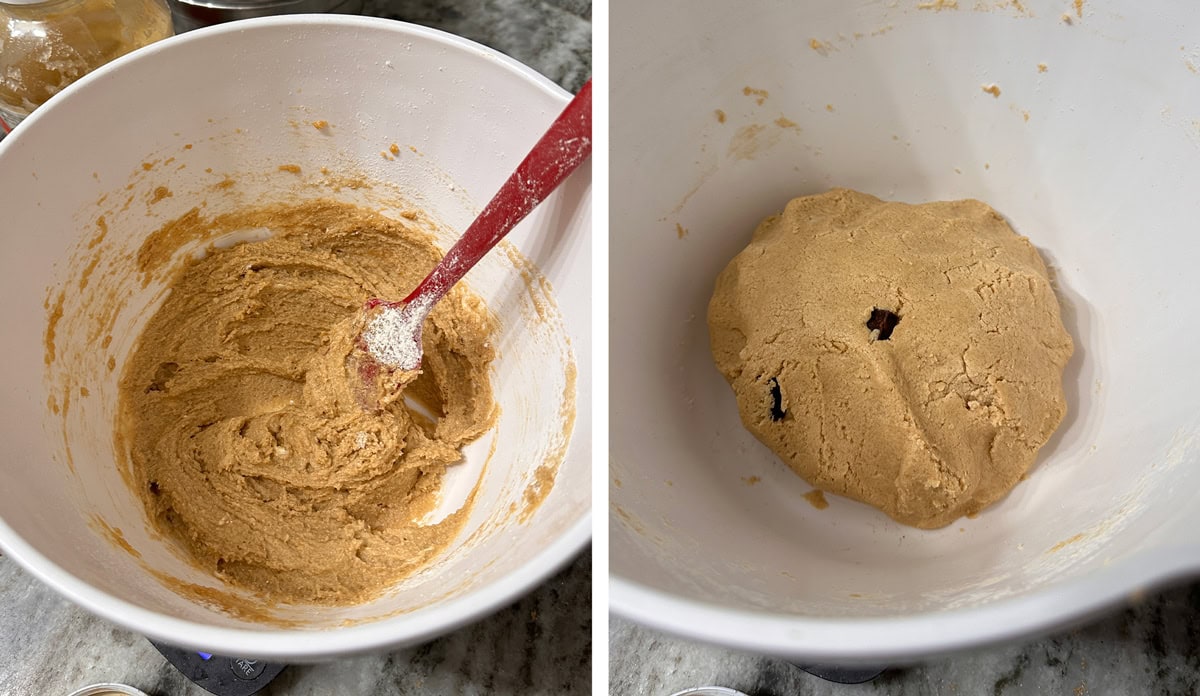
- Make your chocolate brownie layer first by combining all of the dry ingredients in a large bowl.
- Melt your butter and peanut butter together in the microwave (or stovetop) until smooth. Add it to your dry ingredients along with the applesauce and mix until it forms chocolate cookie down.
- Spray an 8×8 baking dish (or use parchment paper) and press the dough into the pan so it reaches all of the edges.
- Follow the same steps to make your cookie later, folding in chocolate chips at the end before adding it on top of your chocolate layer in the pan.
- Bake at 300°F for 18-20 minutes, loosely covering with foil after 10 minutes. See the note below for the variables involved for the bake time, but keep in mind that these are perfectly safe to underbake.
- Remove the pan from the oven and allow the brookies to cool for one hour. The brookies will feel very soft and underdone, and they would fall apart if you were to slice into them right away. The butter firms up as the brookies cool, and one hour is typically the amount of time needed.
- Slice into 16 brookies, then dig in!
- For the best texture, keep leftovers stored in the fridge. These protein blondies also hold up great in the freezer and remain soft enough to bite into right out of the freezer.
Notes
- A lower baking temperature is necessary to allow these to bake through without becoming too dry around the edges.
- Loosely covering with foil (laying foil over the top of the pan) halfway through baking helps to lock in moisture to prevent these from drying out.
- I let mine bake for 22 minutes, and the center was good, but the bottom and edges were a bit too dry. 18-20 minutes will be perfect, but it will depend on your oven. This recipe is safe to eat raw, so you can undertake them without issue if you want to err on the side of caution to prevent them from drying out.
Recommended Products
As an Amazon Associate and member of other affiliate programs, I earn from qualifying purchases.
Nutrition Information
Yield 16
Serving Size 1 Brookie
Amount Per Serving
Calories 150Total Fat 9.5gCarbohydrates 6gProtein 10g