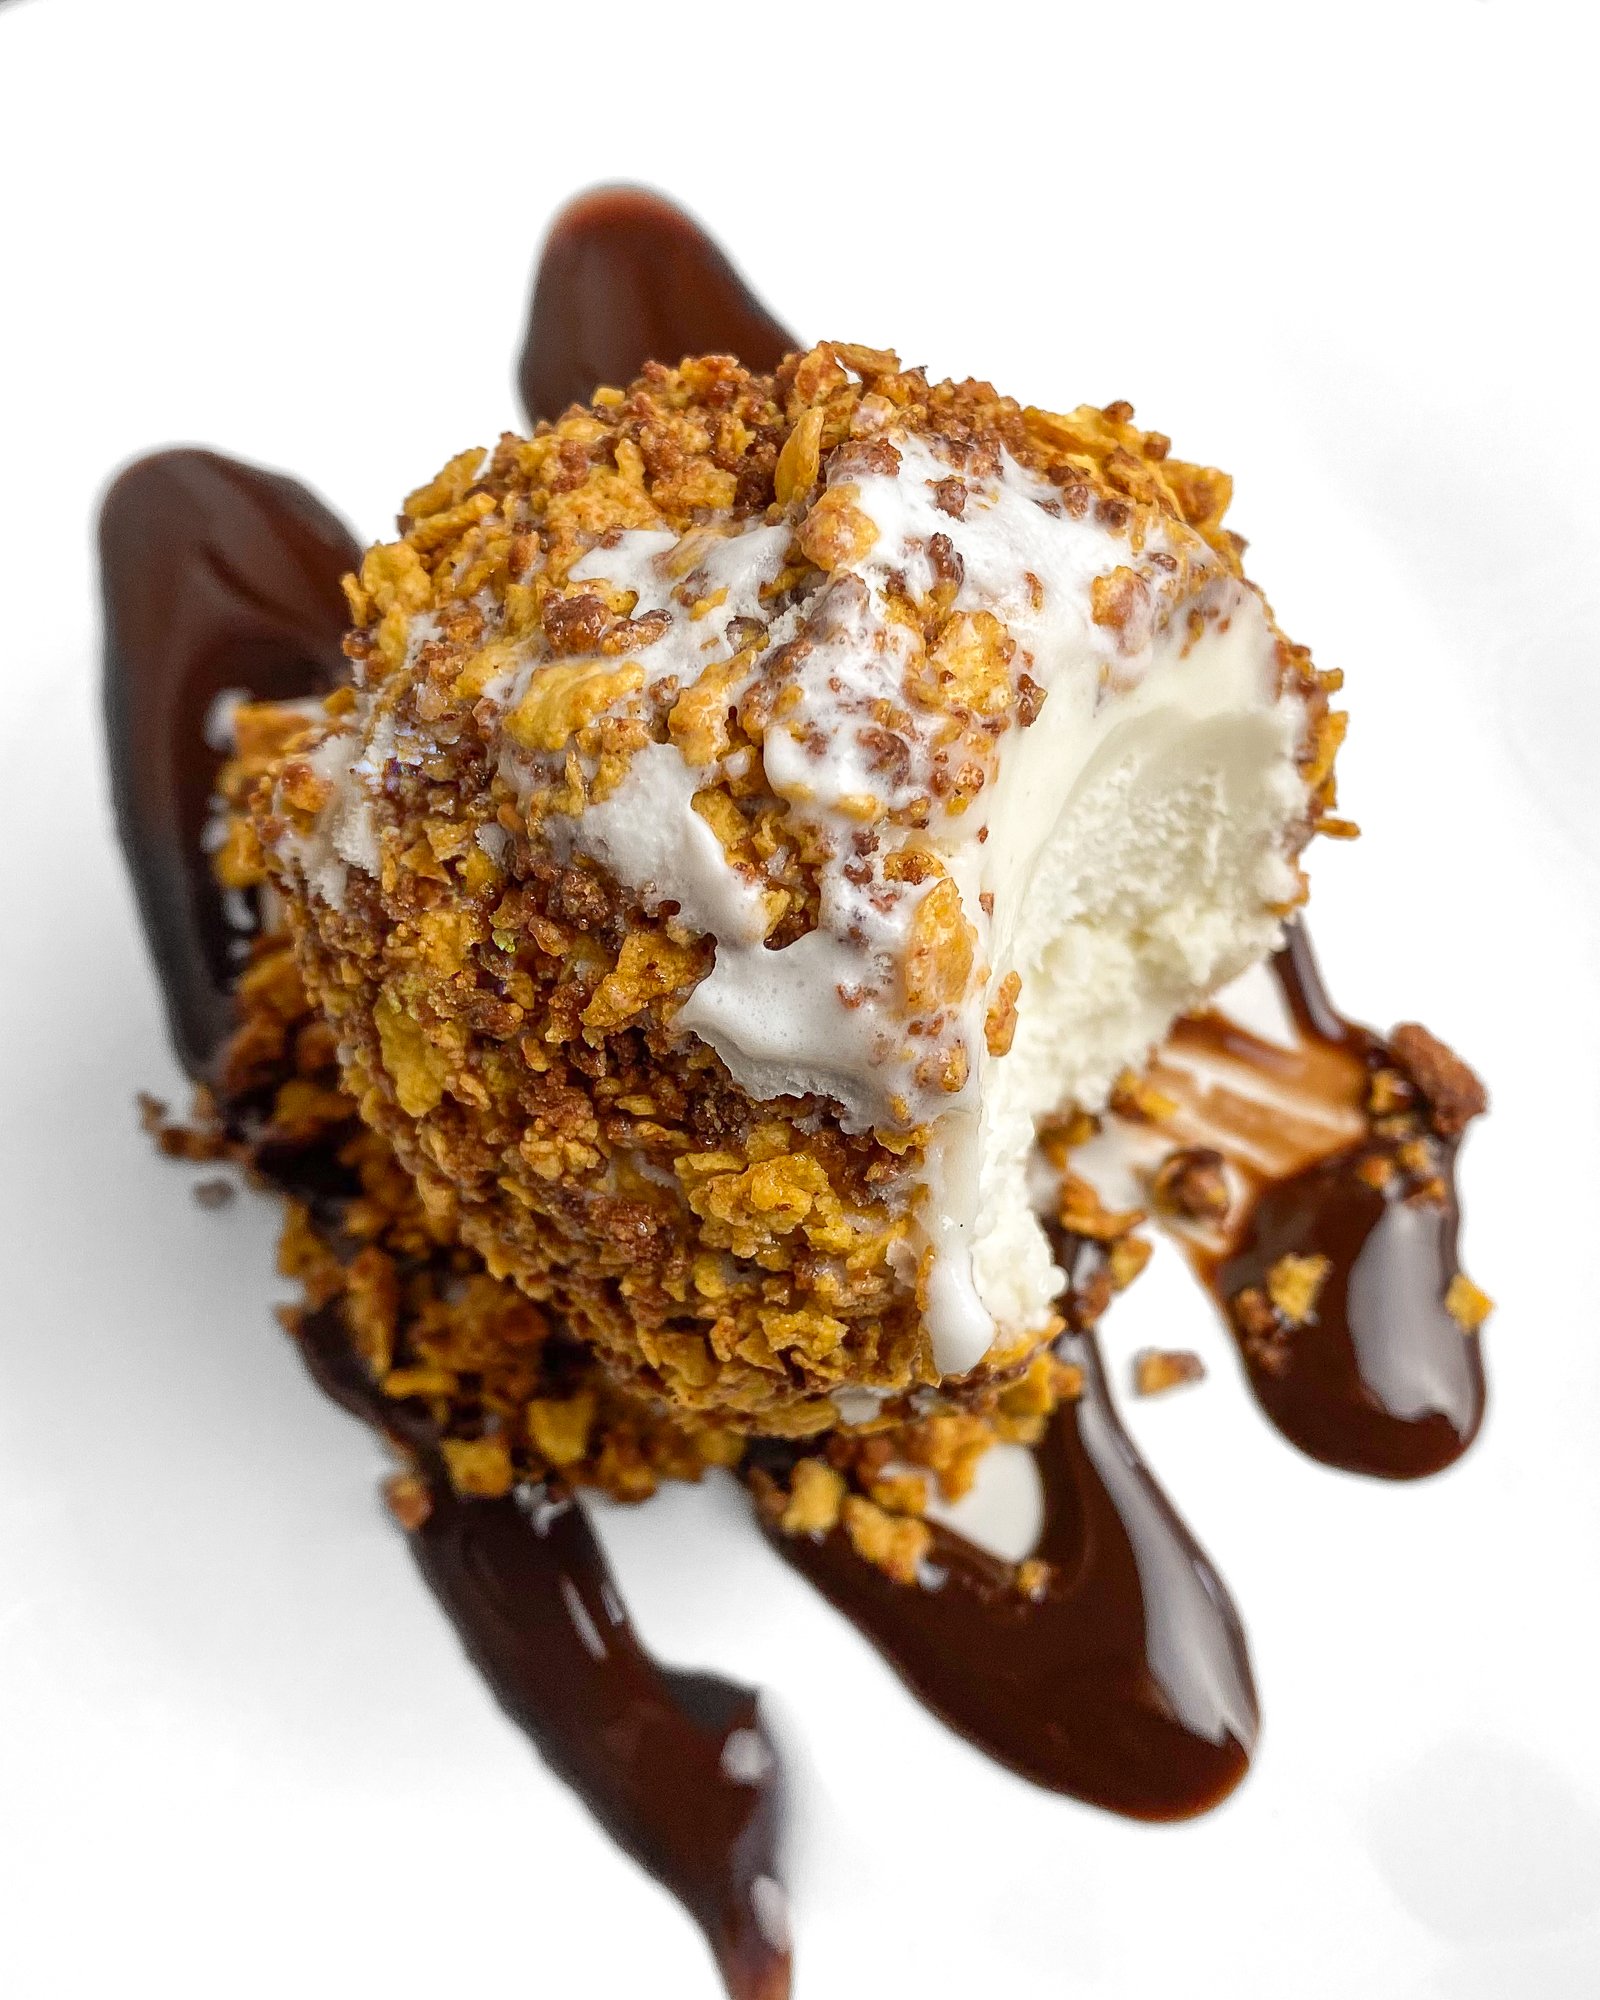
If you’ve never had fried ice cream, it is a glorious dessert.
You take a scoop of vanilla ice cream, coat it in a cinnamon-sugar coating, then give it a quick deep fry. You would think that the ice cream would melt, but it is fried just long enough to crisp up the outside while keeping the ice cream fully intact inside.
I highly recommend ordering it if you’re ever given the chance.
It’s like if churros and ice cream had a baby, and it’s nearly perfect.
As for making it at home, I can only imagine the absolute mess I would make if I tried to deep-fry a scoop of ice cream, so we’re going a much easier route here.
We’re going to make a healthier, high-protein version of fried ice cream, but without the frying!

We’re going to make the cinnamon-sugar coating using Corn Flakes to coat our ice cream and create that crunch without the need to fry it!
I used a scoop of Halo Top ice cream to make this a very high-protein treat, but even if you use regular ol’ vanilla ice cream, the nutrition here is quite impressive.
The coating for a scoop of ice cream has 95 calories, 4g fat, 11g carbs, and 5g protein. Not bad!
Steps for making fried ice cream
This recipe requires us to make a quick mixture to coat our ice cream with, then letting it all sit in the freezer for a couple of hours.
First things first: melt 2 tablespoons of butter in a pan. I used Country Crock, which is a light butter with 1/2 the calories of regular butter.
Can you save calories by simply spraying the pan? Maybe, but I don’t recommend it.
While I’m all for using nonstick cooking spray to save calories, the butter here is what is going to contribute to the final texture, so I wouldn’t skip it.
We’re going to crush up Corn Flakes, either by hand or in a food processor (I use my hands because it is one less thing to clean at the end).
Then, we’re mixing together some vanilla protein powder, brown sugar, and cinnamon, and adding that to our pan as well.
Brown sugar (well, I use a brown sugar substitute) is necessary! Regular granular sugar is not going to melt quite as well, which will result in more of a crumbly mixture by the end.
We’re going to continuously stir this mixture as it melts down.
If you were to let it just sit in the pan, the sugar would begin to burn, so it’s important to keep it moving!
As it cooks down, you’ll notice less and less powder in the pan, and the cereal will become darker in color.
Continue mixing everything for about 4-5 minutes, until the majority of the cereal has turned a dark brown like the photo below. If it smells like it’s starting to burn, remove it from the heat! Burnt sugar is something we’d like to avoid here.
You can see that some of the cereal is still a very light color- that’s totally fine!
Let this cool for about 10 minutes. While it’s cooling, you can remove your ice cream from the freezer so it softens a little bit and is easier to scoop.
Take a big scoop of ice cream (about 2/3 cup, but you can scoop as small or large as you’d like) and add it to your coating. Use your hands to roll it around and make sure the entire scoop of ice cream is covered.
Once fully coated, add your fried ice cream to a sheet of foil or parchment paper and add to the freezer for about 2 hours.
This time in the freezer is necessary- if you were to eat it right away, the fried ice cream would be way too soft, and the coating wouldn’t have the same crunch that we want.
After 2 hours, you’re ready to go!
How to serve fried ice cream
If you order fried ice cream at a restaurant, you’ll most commonly find it served with chocolate syrup, whipped cream, and a cherry.
So, I recommend doing the same!
I took some Sugar-Free Hershey’s chocolate syrup, added that to my plate, and sprinkled some of the leftover coating I had. You may not have any coating left over, which is absolutely okay.
I added some whipped cream on top, but admittedly, it looked pretty ugly up there. Nonetheless, it tasted great!
If you use regular ice cream for this recipe, then the fried ice cream will be soft enough to just dig right in with a spoon.
If you use high-protein ice cream, it tends to freeze a little bit harder, so I recommend letting the fried ice cream sit out for about 5 minutes before eating so you can easily cut into it!
This fried ice cream will keep very well in the freezer, so if you make a large batch, you can save them for throughout the week!
Hey, cinnamon-sugar fans…
Looking for more cinnamony recipes? I’ve got you covered. Here’s a few you’re gonna love:
Instructions
- Add the corn flakes to a bowl or sealable bag and crush into crumbs. You can use a food processor for this, but I like to avoid that cleanup.
- Heat a pan on the stove over low-medium heat. Add the 28g of butter and move around in the pan until it is fully melted and coats the entire thing.
- When the butter is melted, sprinkle the cornflakes into the pan. Be sure to evenly distribute it around the pan rather than piling it up in one spot.
- In a small bowl, combine the brown sugar, protein powder, and cinnamon, and mix it up. Then sprinkle that mixture over your Corn Flakes in the pan.
- Continuously stir everything to avoid burning as the brown sugar melts in the pan. Continue for about 4-5 minutes (it will depend on how hot your pan is). You want to continue stirring until the cornflakes have turned a dark brown color (see photos above).
- Remove from heat and pour the contents out onto a plate or baking sheet. Allow this to cool for about 10 minutes.
- Take your ice cream out of the freezer. Certain ice cream will be very hard right out of the freezer, so you can allow the ice cream to sit out and soften while your coating cools.
- Take one large scoop of your ice cream (about 2/3 cup) and generously coat it with your cooled coating. I used my hands to press the mixture onto the ice cream scoop. You should be able to cover 3 full scoops with your mixture.
- Add the coated scoops of ice cream onto a sheet of parchment paper or foil and place them back in the freezer for about 2 hours to fully firm up.
- Serve with some chocolate syrup and whipped cream and enjoy!
Notes
- Without the ice cream, each serving of just the coating is 95 calories, 4g fat, 11g carbs, and 5g protein.
- You can use any kind of cereal you’d like, but corn flakes give this a very classic flavor that works well.
- Note that I do not count the brown sugar substitute in my carb totals because it contributes 0 calories to the final nutrition.
Recommended Products
As an Amazon Associate and member of other affiliate programs, I earn from qualifying purchases.
Nutrition Information
Yield 3
Serving Size Scoop of Ice Cream with Coating
Amount Per Serving
Calories 195Total Fat 6gCarbohydrates 32gProtein 11g


